How to Make a Jabber Wonger Cosplay Costume — Gachiakuta Behind-the-Scenes Crafting Process
By EZCosplay | Gachiakuta Cosplay Tutorial
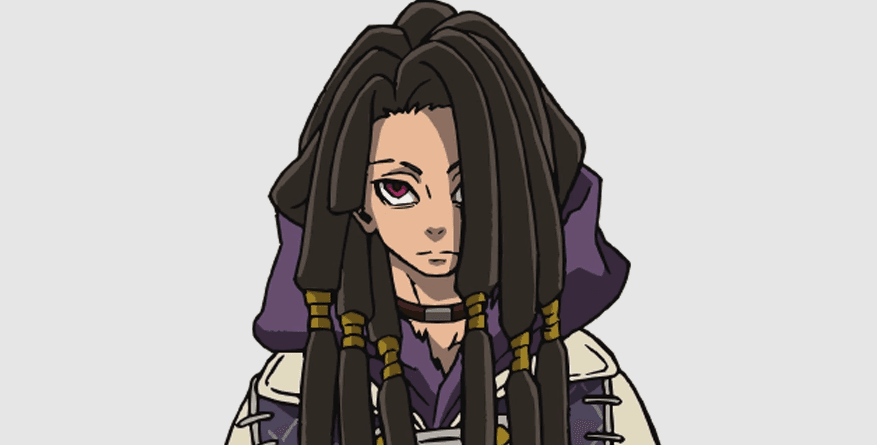
If you've been captivated by the intense, trash-punk world of Gachiakuta, you already know Jabber Wonger's costume is one of the most visually striking designs in the series. With its layered structure, bold geometric gold accents, and dramatic silhouette, it's a real challenge to bring to life — which is exactly why we filmed our entire production process from start to finish.
Watch the full behind-the-scenes video here: Jabber Wonger Cosplay Making | Gachiakuta Costume Process | EZCosplay
In this post, we'll walk you through every step of how this costume was made — from drafting the first pattern piece all the way to the final seam.
Materials & Fabrics Used
Before you begin, gather the following fabrics and notions:
Fabrics
| Material | Color | Purpose |
|---|---|---|
| Woolen / Structured Fabric | Dark Navy / Black | Outer robe body |
| Chiffon / Drape Fabric | Purple / Violet | Inner layer & collar detail |
| Cotton-Linen / Matte Fabric | Cream / Beige | Wide sleeves & lining |
| Satin / Lustrous Fabric | Orange-Gold | Triangular decorative panels |
| White Lining Fabric | White | Inner lining for outer robe |
Notions & Tools
- Paper pattern sheets (kraft paper)
- Tailor's chalk or marking pen
- Fabric scissors
- Rotary cutter + cutting mat
- Ruler / L-square
- Sewing machine (Brother)
- Thread matching each fabric color
- Steam iron + ironing board
- Pins / Wonder Clips
Step-by-Step Tutorial
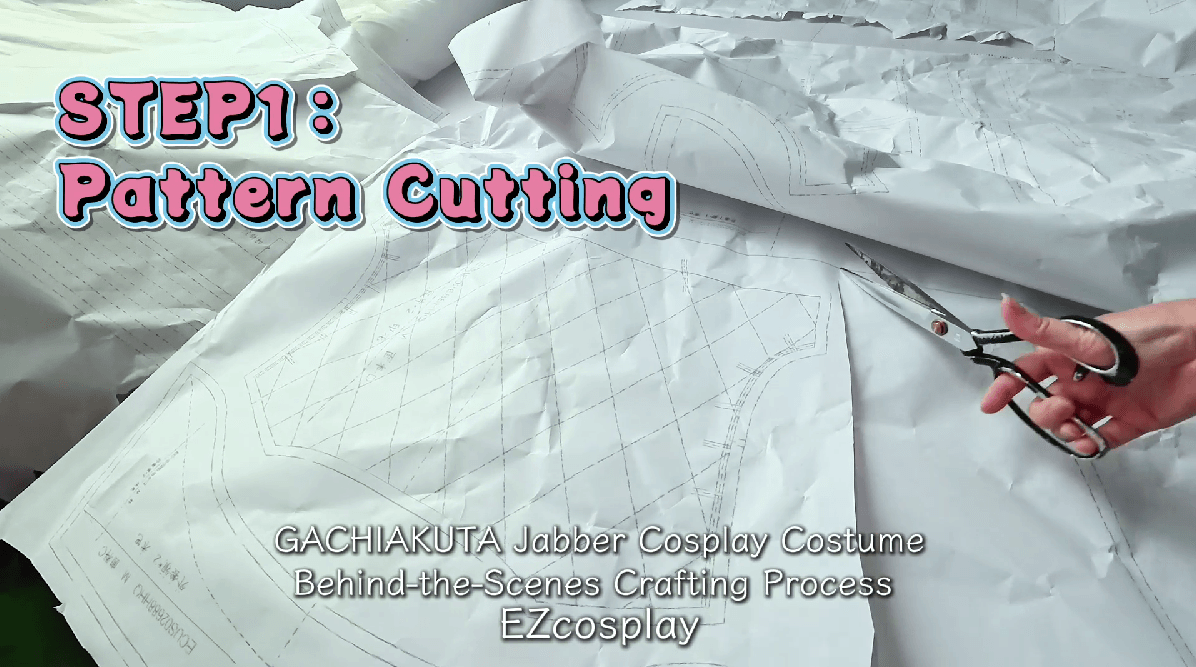
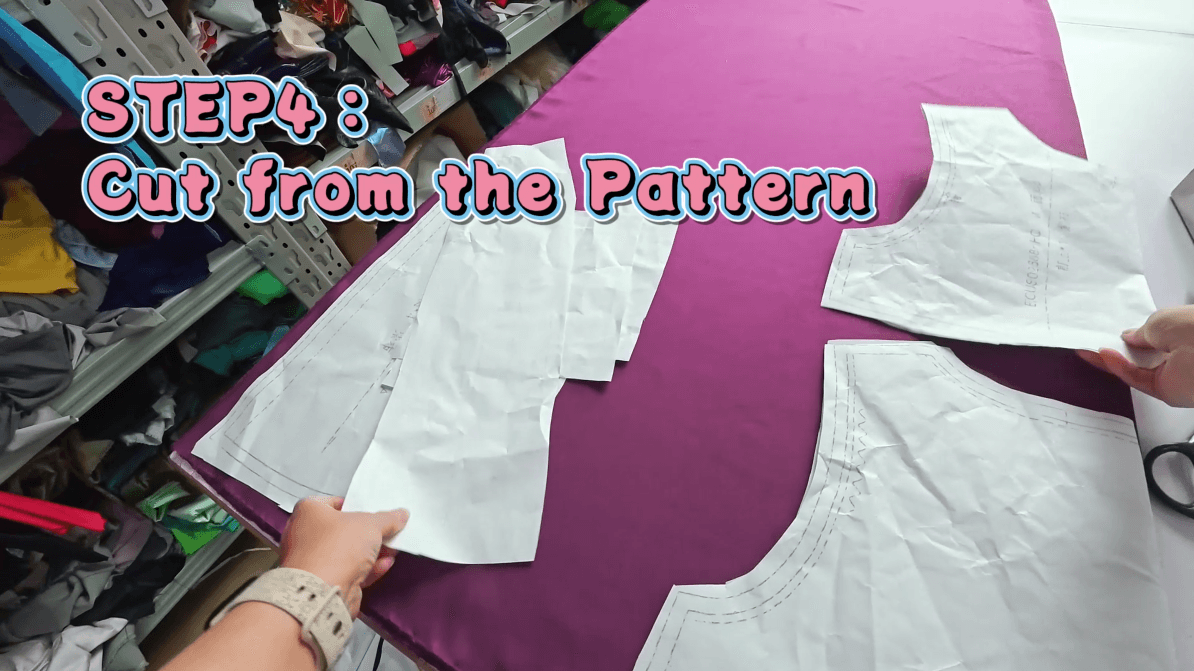
Step 1 — Draft & Cut the Patterns
(~0:15 in video)
Start by drafting all the garment pattern pieces on kraft paper. Jabber Wonger's outer robe has an asymmetric, structured silhouette, so accurate pattern-making is critical. Lay all the pattern pieces out flat on a large table and confirm every piece is accounted for before cutting a single piece of fabric.
Tip: Label each pattern piece clearly (front, back, left/right, grain line) to avoid confusion during assembly.
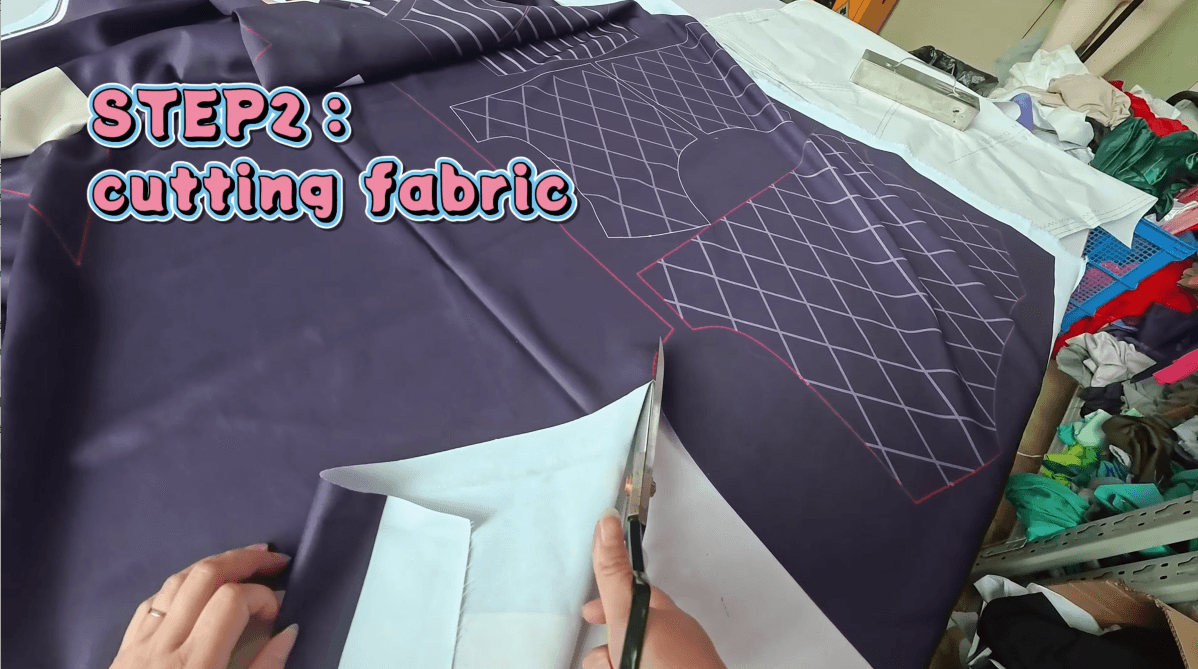
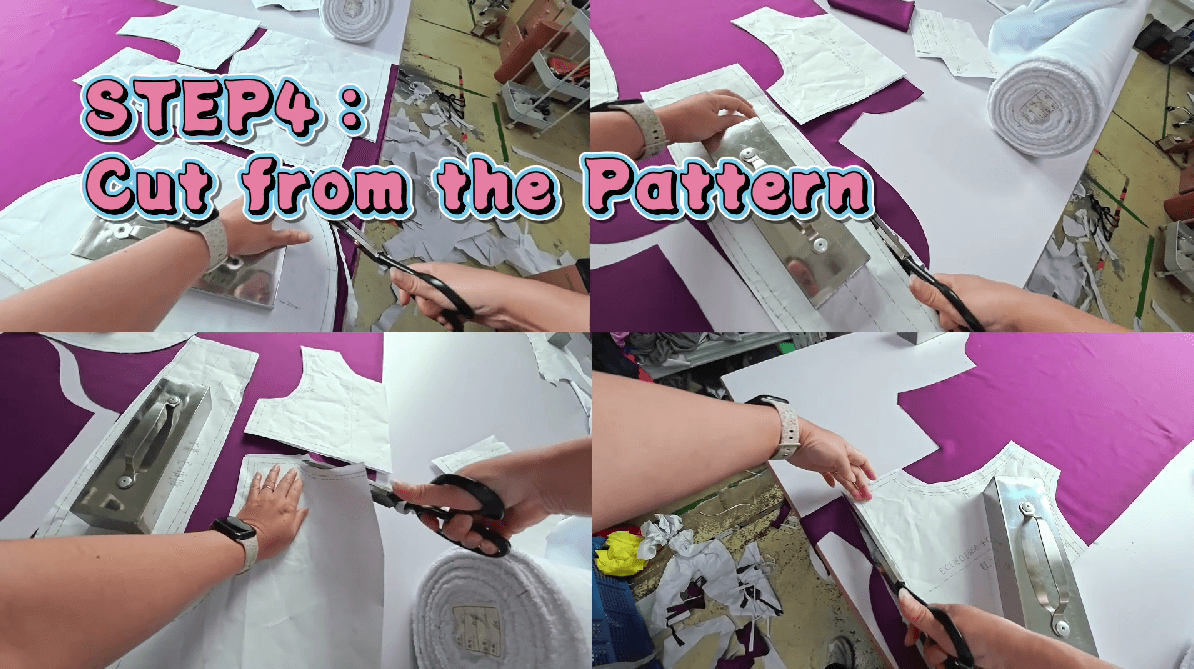
Step 2 — Cutting the Fabric
(~0:30 in video)
Spread your dark navy outer fabric flat on the cutting surface. Pin or weight down the paper patterns on the fabric. Using your rotary cutter or fabric scissors, cut along the pattern edges cleanly and precisely. At this stage you'll be cutting the outer robe body pieces from the dark navy/black structured fabric.
For pieces that require a lining (like the outer robe front panels), cut the corresponding lining pieces from white lining fabric at the same time.
Step 3 — Mark the Notches & Match Points
(~0:50 in video)
Once the pieces are cut, transfer all the match points, notches, and construction marks from the patterns onto the fabric using tailor's chalk or a marking pen.
These marks are essential for aligning panels correctly during sewing — especially on a complex costume with multiple layers and color-blocked sections.

Step 4 — Cut the Purple Inner Layer
(~1:06 in video)
Using the relevant pattern pieces, cut the purple inner layer / collar sections from your purple fabric. Pin the paper pattern securely before cutting to ensure clean edges.
The purple layer is what gives the costume its striking color contrast at the chest and collar area — precision here pays off in the final look.
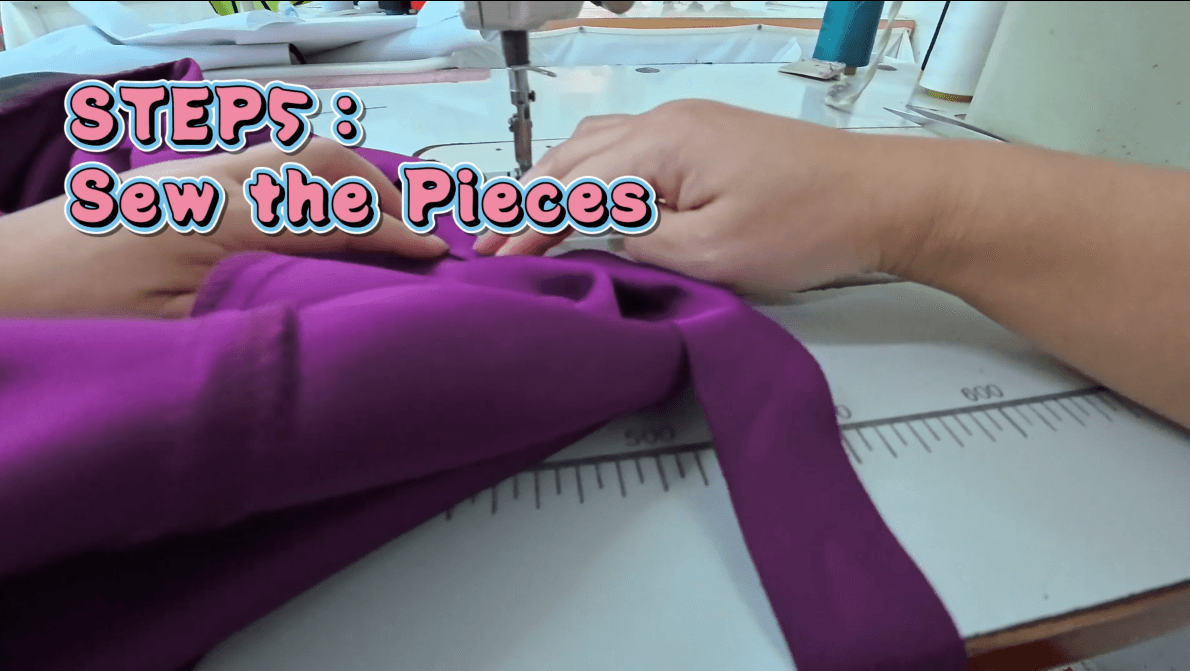
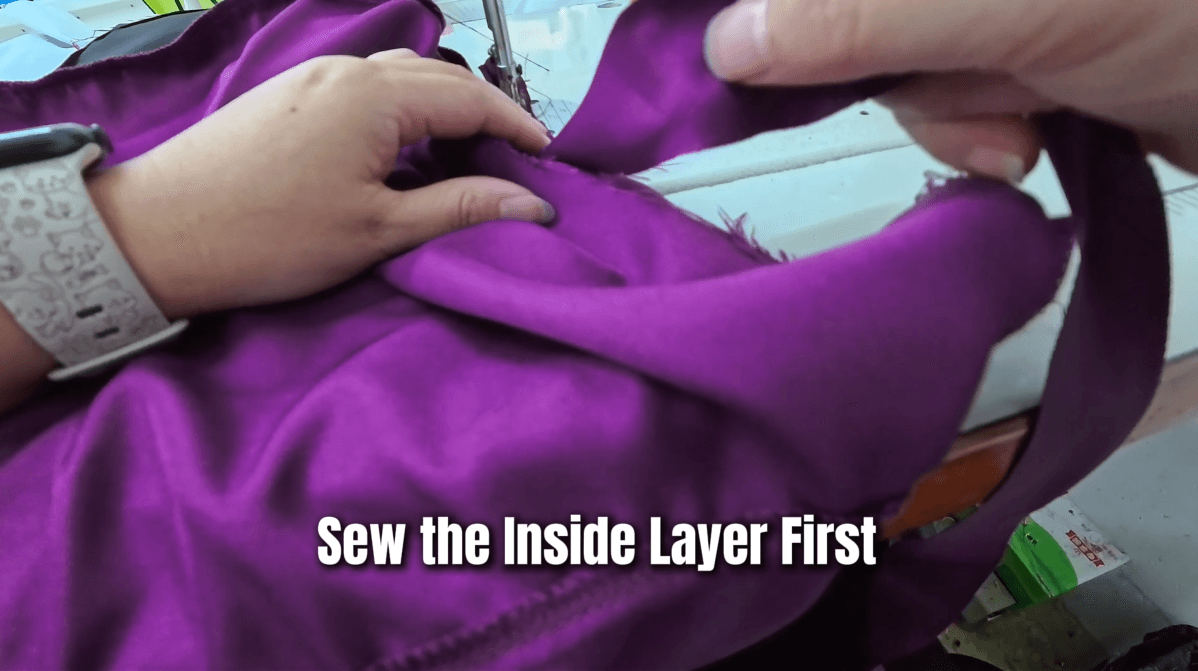
Step 5 — Sew the Inner Pieces Together
(~1:30 in video)
Take the cut purple pieces to the sewing machine. Sew the inner garment sections together, matching the notches you marked in Step 3. Use a standard straight stitch with a seam allowance appropriate for your fabric weight.
Press each seam open as you go for a cleaner finish. Sew the structural seams first (shoulder, side seams) before tackling smaller detail seams.
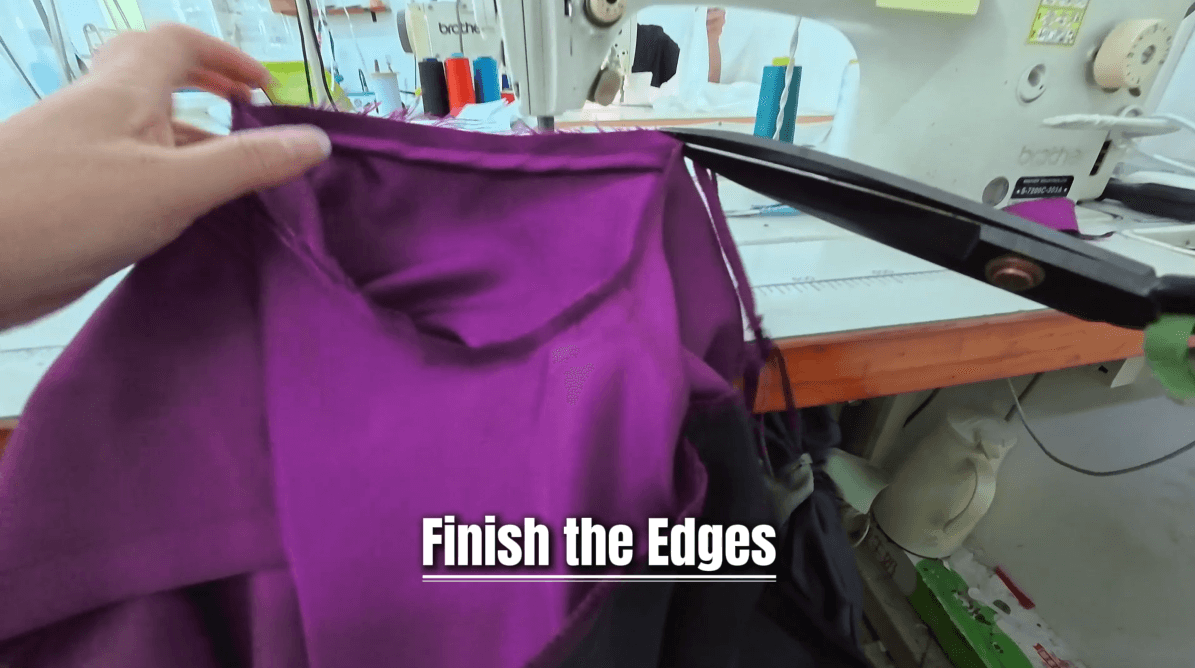
Step 6 — Finish the Edges
(~1:55 in video)
Once the inner purple pieces are sewn, finish all raw edges using a serger or zigzag stitch to prevent fraying. Use a rotary cutter on a self-healing mat to trim any uneven seam allowances and ensure crisp, clean edges on the purple panels.
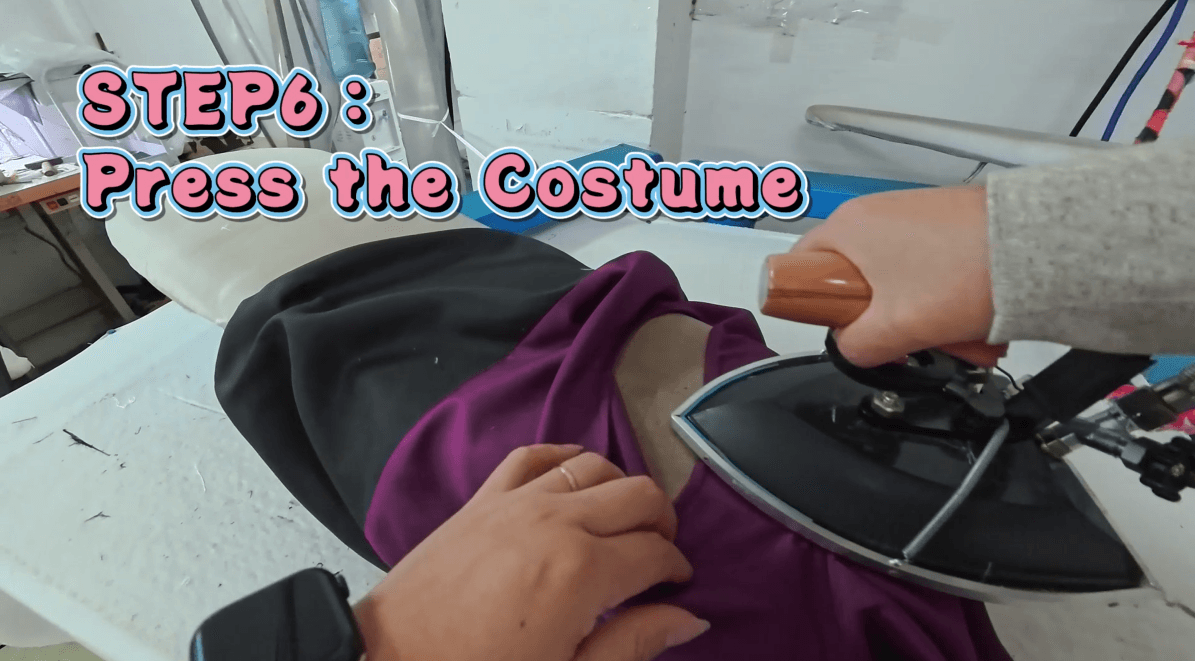
Step 7 — Press the Costume
(~2:10 in video)
Pressing is one of the most underrated steps in costume making. Use a steam iron to press all the seams flat on the assembled purple inner layer. This shapes the garment, sets the seams, and makes subsequent sewing steps much easier.
Pay special attention to collar and neckline areas where the fabric transitions between layers.
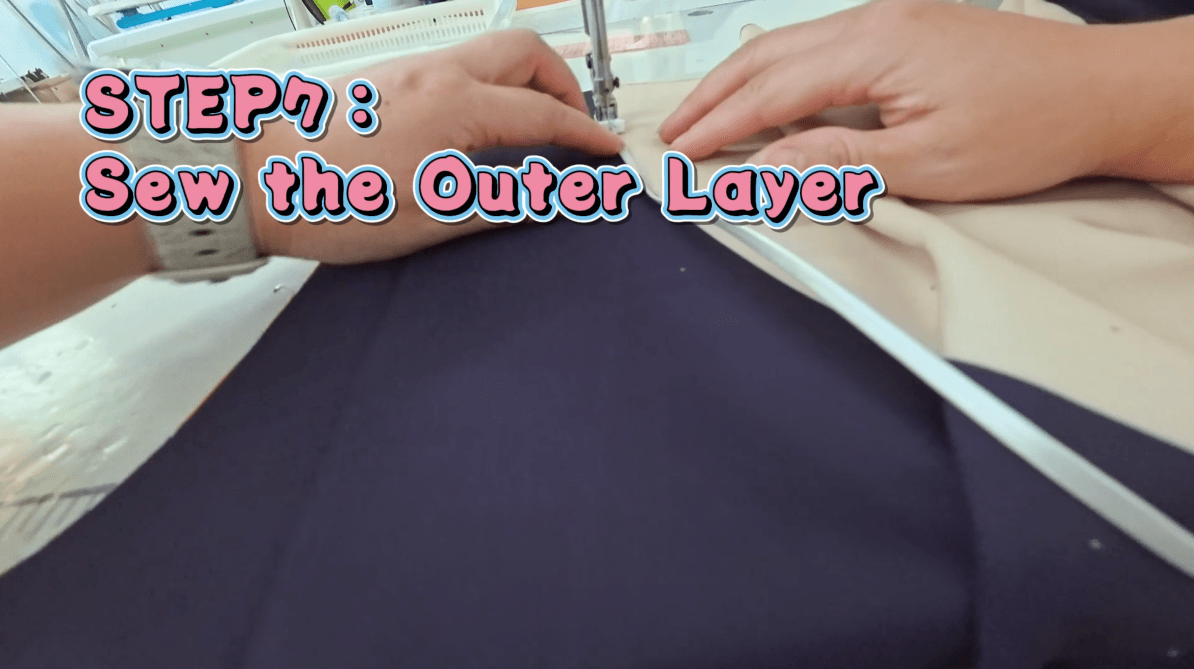
Step 8 — Sew the Outer Layer
(~2:30 in video)
Now it's time to work on the dark navy outer robe. Pin the outer fabric and the white lining together (right sides facing), and sew them together along the key edges. The lining gives the outer robe structure and a clean interior finish.
Leave strategic openings as needed for turning right-side-out and for attaching other panels.
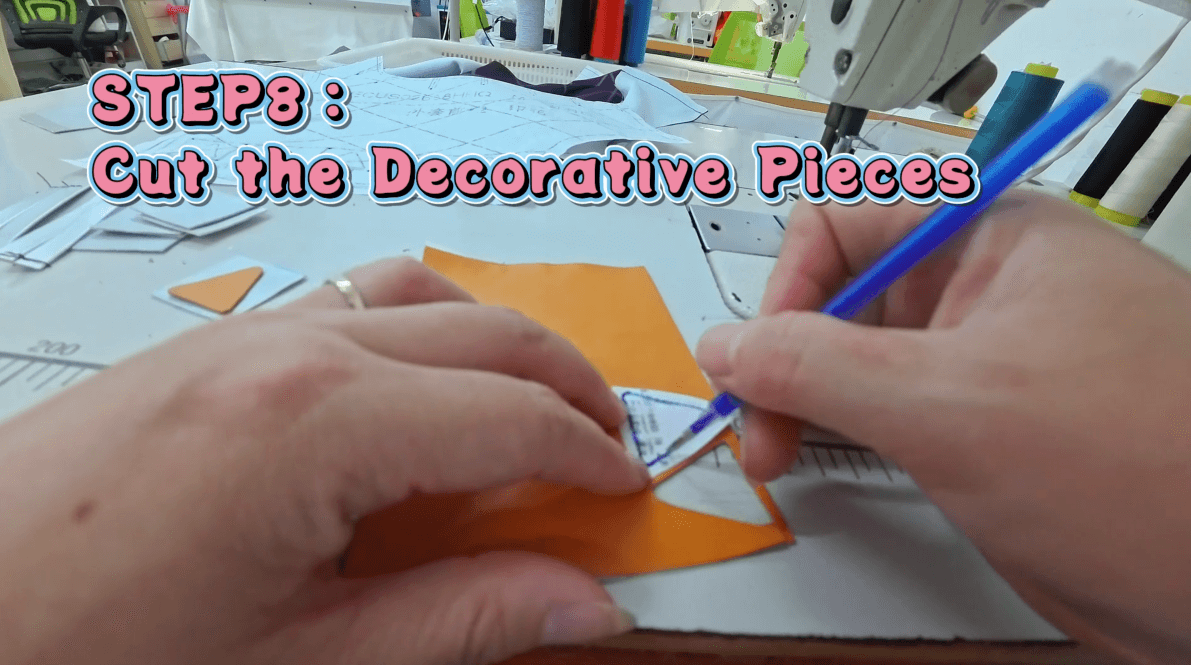
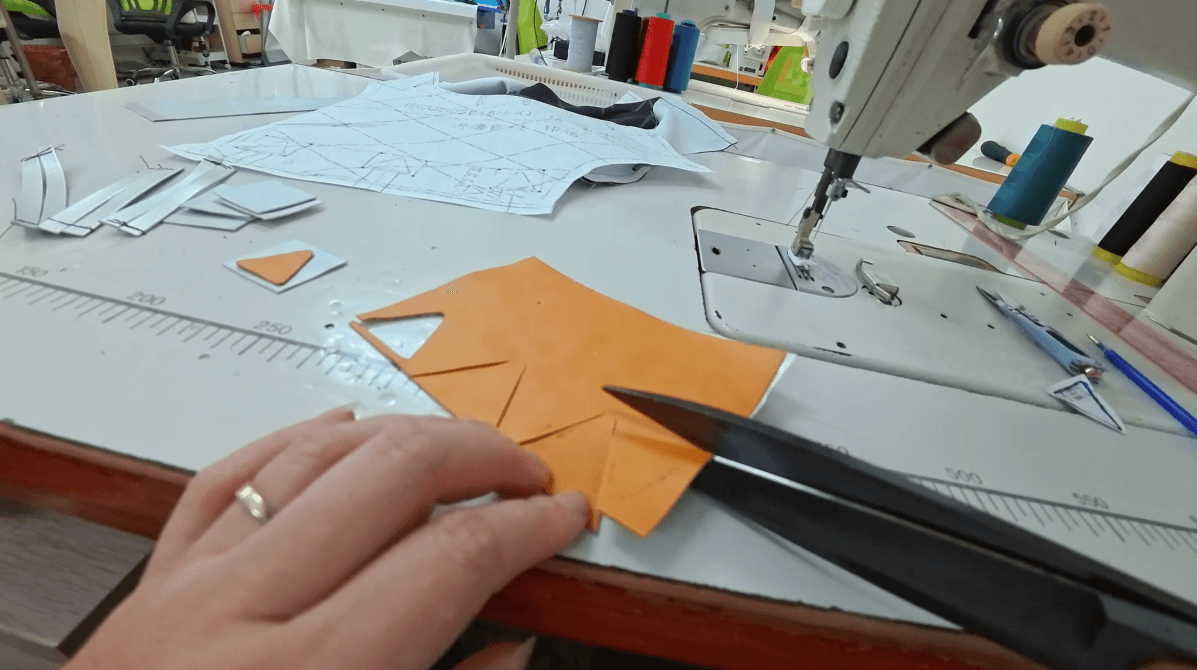
Step 9 — Cut the Decorative Gold Panels
(~2:42 in video)
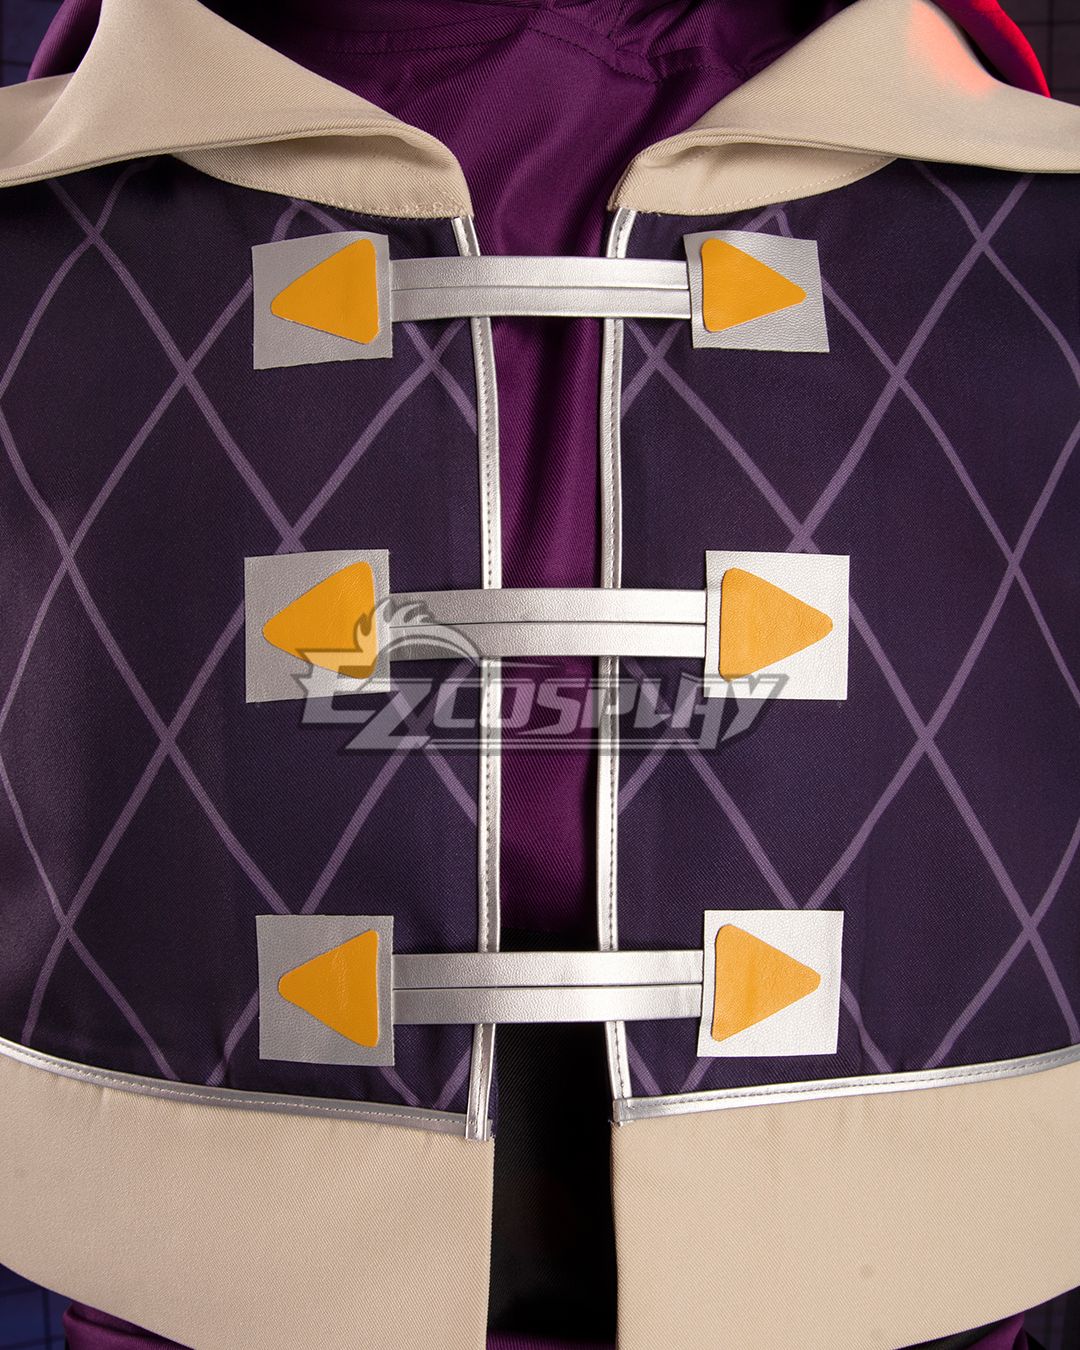
One of Jabber Wonger's most iconic features is the series of bold triangular orange-gold geometric panels across the body. Using your paper pattern pieces, cut these shapes from your orange/gold satin or lustrous fabric.
Precision is everything here — these panels are very visible and any irregularity will stand out. Cut slowly and check each piece against the pattern before moving on.
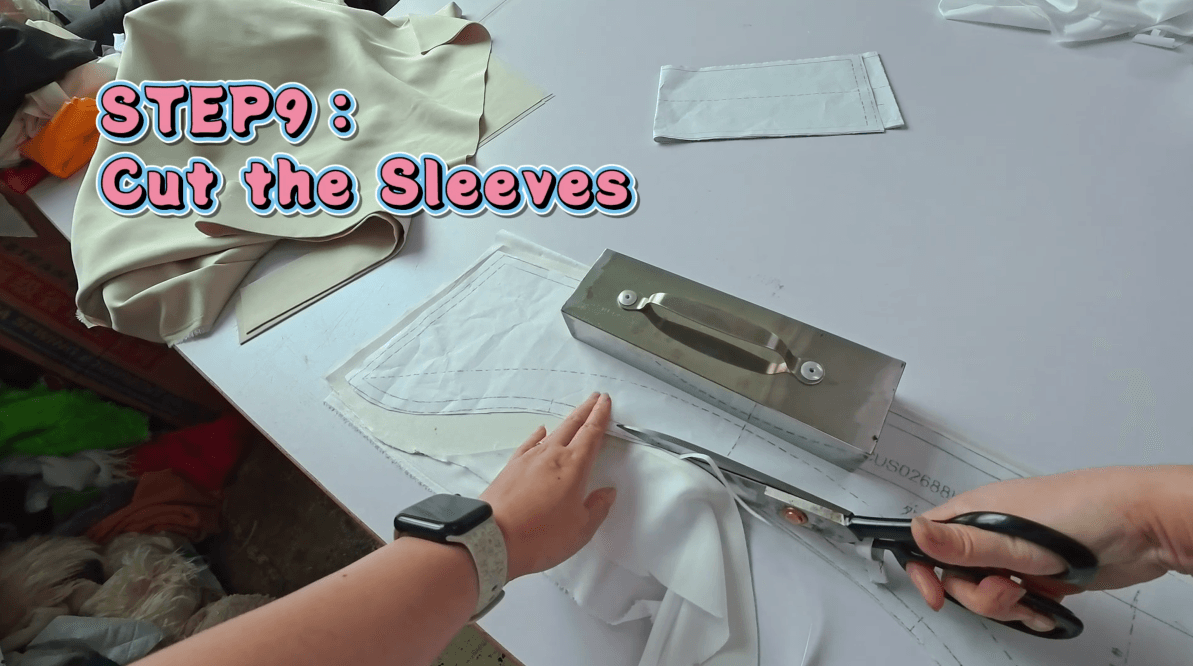
Step 10 — Cut the Sleeves
(~3:26 in video)
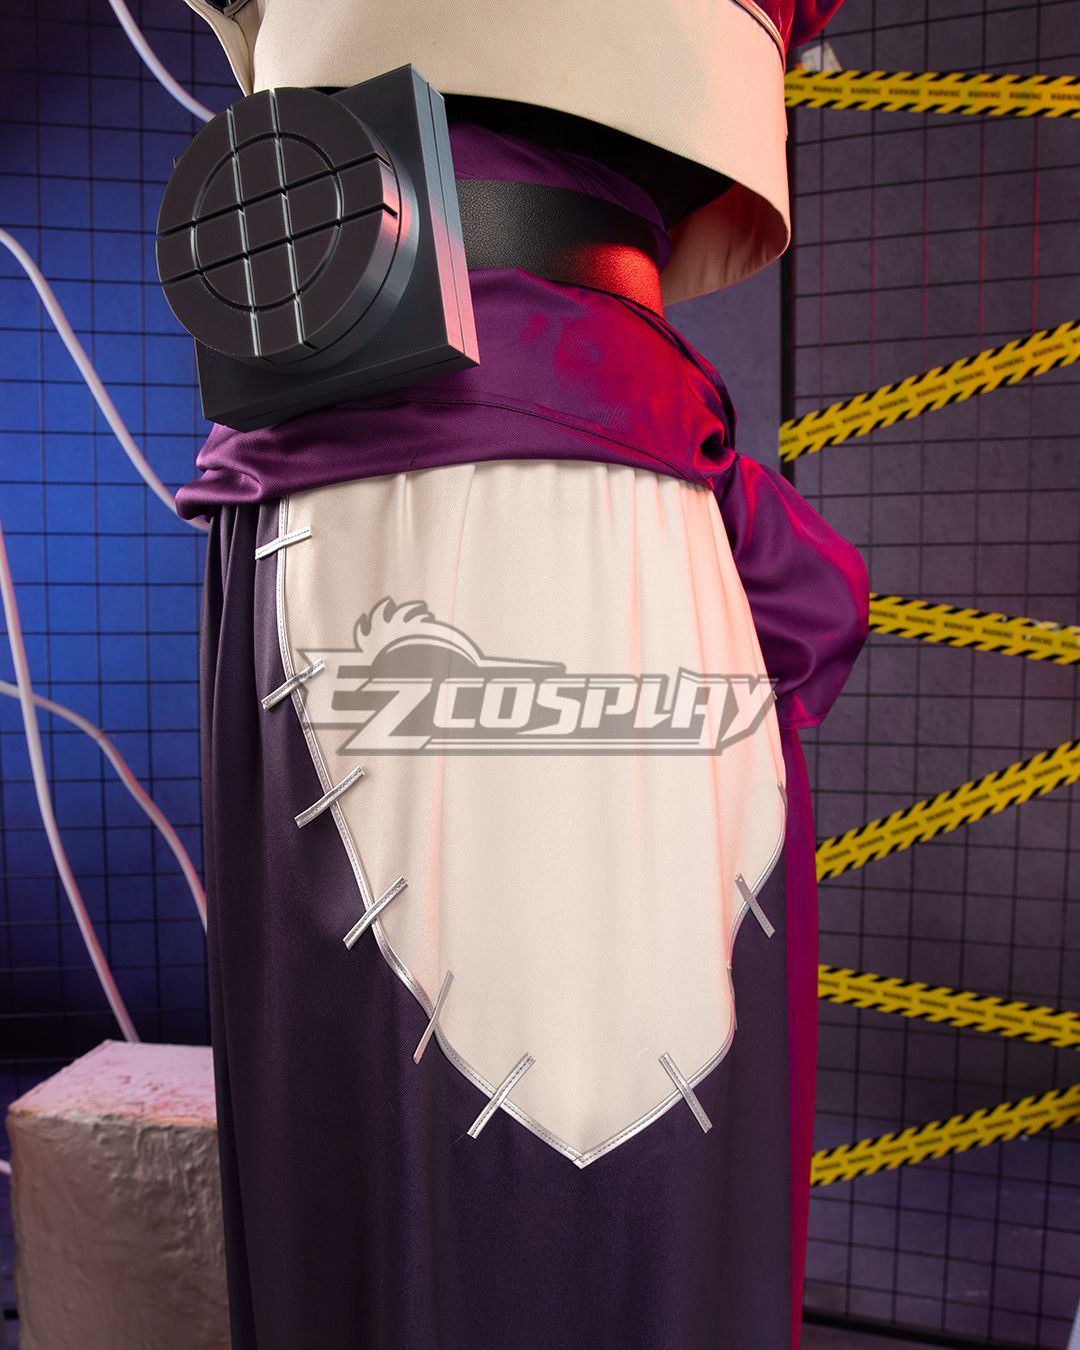
Using the sleeve patterns, cut the wide cream/beige sleeves from your cotton-linen matte fabric. The sleeves are one of the most dramatic elements of this costume — their wide, flowing silhouette creates that characteristic Gachiakuta look.
Cut both sleeves and their lining pieces. Double-check that the grain line runs correctly on both pieces.
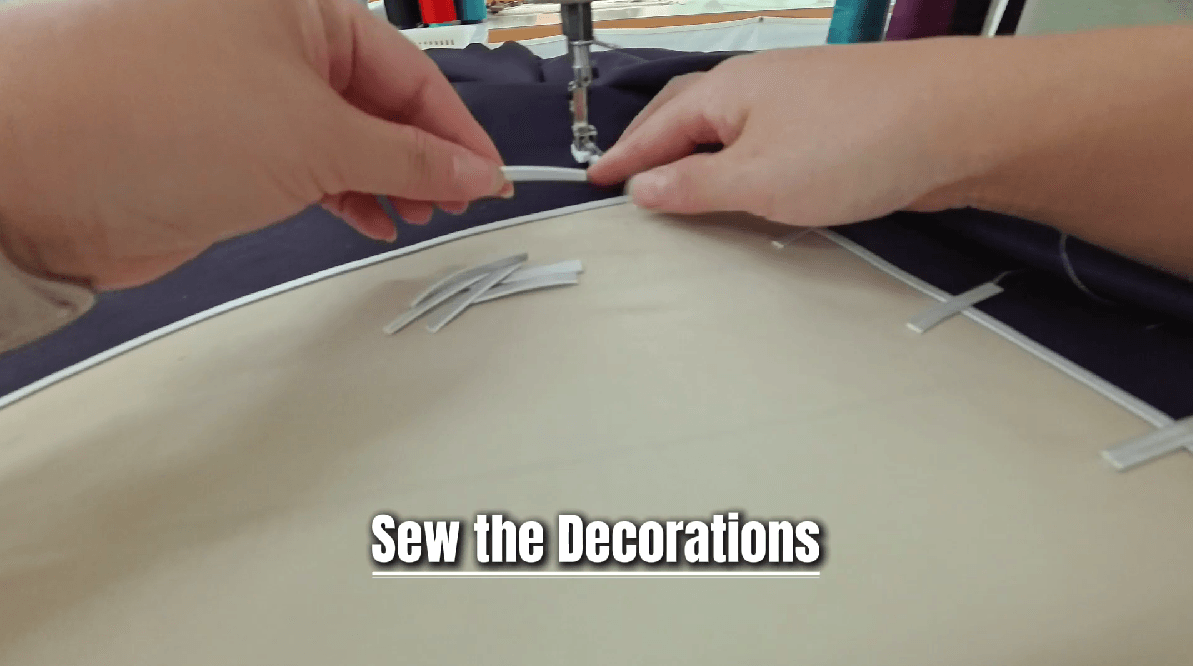
Step 11 — Sew the Outer Pieces & Assemble
(~3:55 in video)
Attach the sleeves and outer robe panels together. Sew the cream sleeve pieces at the armhole seam, then finish the seams. Sew on the decorative gold triangular panels using either topstitching or slip-stitching, depending on the desired finish.
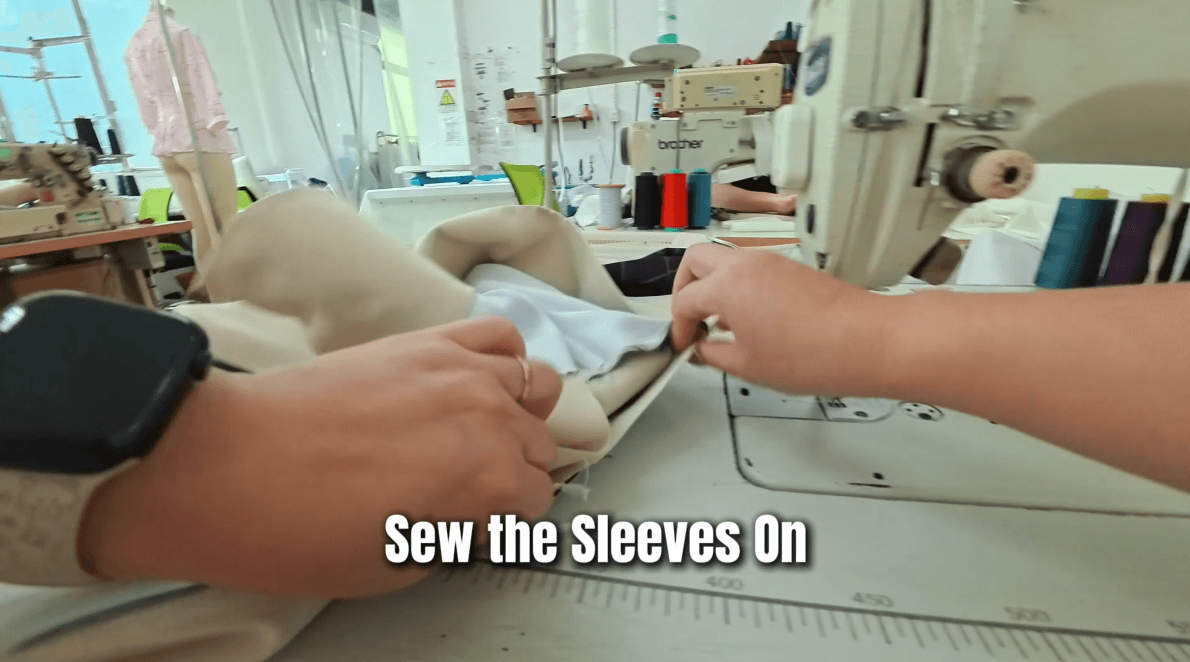 Finally, attach the assembled inner purple layer to the outer robe, and close any remaining openings by hand-stitching for a neat finish.
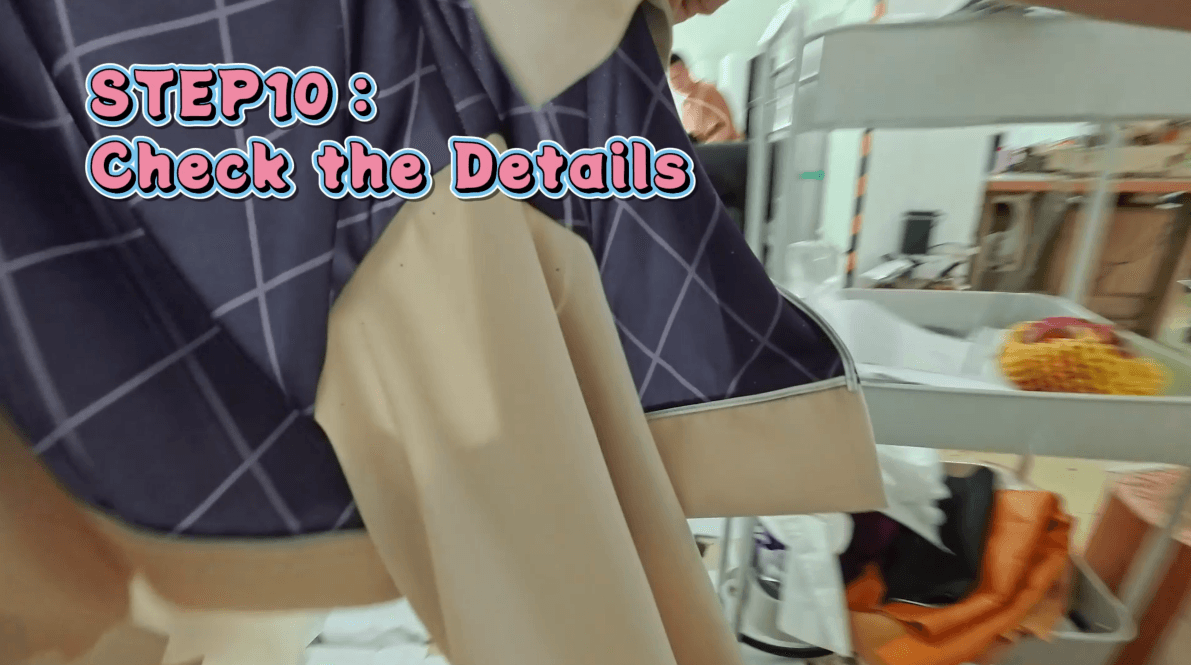
The Finished Costume
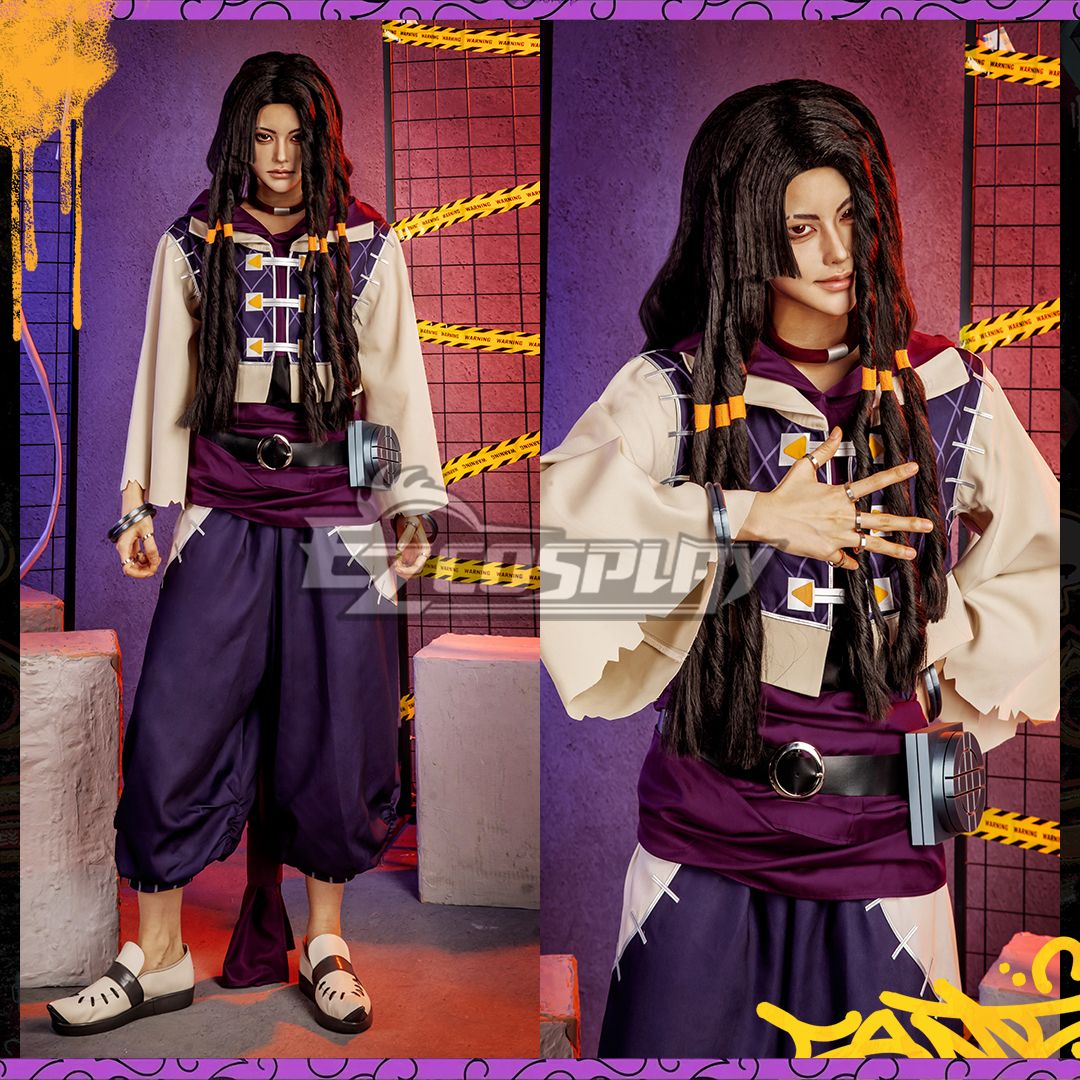
After all 10+ steps, the Jabber Wonger costume comes together into a layered, dramatic piece faithful to the character's design in the Gachiakuta anime — the dark outer robe, the flash of purple at the collar, the sweeping cream sleeves, and those striking gold diamond patterns that make the costume instantly recognizable.
Shop the Costume
Don't want to make it yourself? You can order our custom-made Jabber Wonger cosplay costume directly from EZCosplay. Each costume is made-to-order in your measurements.
Product Code: ECUS02688HHQ