How to Create a Fluffy Usagi Tsukino Cosplay Wig with a TEXTUR Iron
This tutorial is adapted from Ezcosplay’s Usagi Tsukino wig styling video on TikTok and combined with practical wig styling experience. It is especially suitable for cosplayers who already have a basic wig and want to make the style look fuller, fluffier, and more dimensional.
Video reference: https://www.tiktok.com/@ezcosplay.com/video/7613985477904846111 Cosplay Wig: https://www.ezcosplay.com/sailor-moon-stars-sailor-cosmos-chibi-chibi-white-cosplay-wig-ewg4458.html
From building volume and reducing bulk to trimming length, heat shaping, finger styling, and setting with spray, this guide breaks the key actions from the video into a clear step-by-step written tutorial. Follow the process while comparing with the original video and your own screenshots, and you can complete a full advanced styling session for your Usagi Tsukino cosplay wig.
Tools You’ll Need
Before you begin, prepare the following tools:
| Tool | Purpose |
|---|---|
| Pre-styled cosplay wig | A wig already shaped in a Usagi Tsukino style or a similar long ponytail style |
| TEXTUR iron | Creates texture on the inner layers to add volume and grip |
| Texturizing scissors | Removes bulk and builds layered movement |
| Straight scissors | Trims the overall length and silhouette |
| Flat iron | Heats and smooths the fibers before shaping |
| Spray bottle with water | Helps cool and lightly set the hair |
| Hairspray | Locks in the final shape |
| Comb and sectioning clips | Makes sectioning and styling easier |
It is recommended to place the wig on a mannequin head or a sturdy wig stand before you start. This makes the process more stable and much easier to control.
Step-by-Step Wig Styling Tutorial
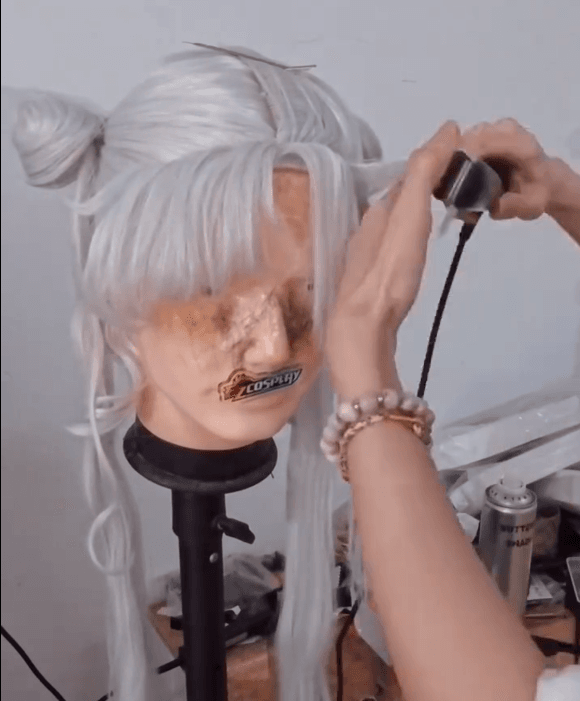
Step 1: Add Volume and Grip with a TEXTUR Iron
Start by using the TEXTUR iron on the inner layers of the wig to create the foundation for a fuller look.
Take a small section from a hidden inner layer. With the TEXTUR iron preheated, gently clamp near the roots and work your way down the strand in short sections to create fine texture. Do not hold the tool in one spot for too long, or the heat may damage the fibers.
Only texture the inner layers and keep the outer layer smooth. This way, the wig still looks neat and natural from the outside while gaining extra fullness and friction inside, which helps with styling and securing a high ponytail.

Step 2: Section the Wig by Area
Next, comb through the entire wig and divide it into sections based on the style you want to create.
You can split it into a top section, side sections, and back section, or simply divide it into upper and lower layers first. Then continue subdividing each large section as needed. Use clips to secure the parts you are not currently working on so they do not tangle or get cut by mistake.
Clear sectioning makes it much easier to thin, trim, and style each part evenly without missing areas or creating unbalanced thickness.
Step 3: Reduce Bulk with Texturizing Scissors
Once the wig is sectioned, you can begin removing excess bulk with texturizing scissors.
Take a medium-thickness section of hair and make one or two light cuts at a slight angle from the mid-lengths to the ends. After each cut, comb through or separate the strand with your fingers to check how much thickness has been removed before deciding whether to continue.
Avoid thinning too close to the roots, as this can create obvious frizz and unnatural lift. The best approach is to work gradually in small amounts rather than cutting away too much fiber at once.
Step 4: Trim to the Desired Length with Straight Scissors
After the thickness feels right, move on to trimming the overall length and silhouette.
First decide on your target length, such as shoulder length, collarbone length, or a position that matches the character artwork. Pull a section straight and trim gradually from the ends upward with straight scissors.
To avoid a blunt, harsh line, use a point-cutting technique. Hold the scissors more vertically and remove only small amounts from the ends. This creates a softer, more natural finish with slightly irregular texture that looks more like real hair.
When trimming both sides, compare the length and shape repeatedly to keep them symmetrical or to match any intentional asymmetry in the character design.
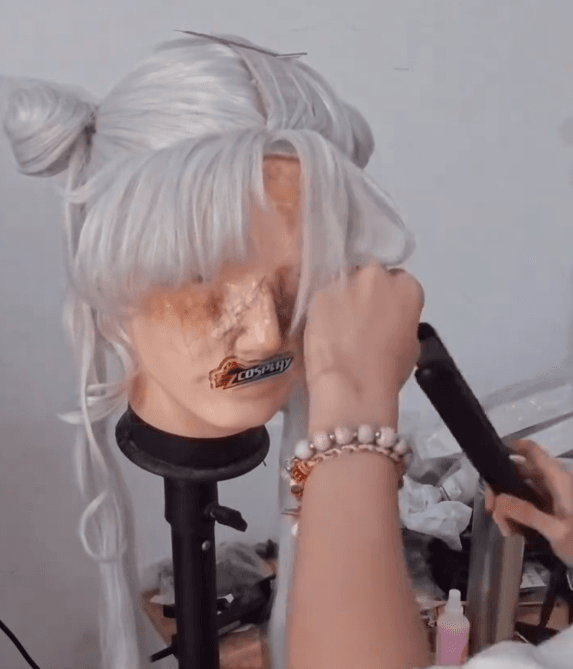
Step 5: Heat the Strands with a Flat Iron
Once trimming is done, use a flat iron to heat the strands so the wig fibers become easier to shape.
Set the flat iron to a safe temperature for synthetic wig fibers. If you are unsure, test a small hidden section first. Clamp only a small amount of hair at a time and glide slowly from near the roots to the ends in one smooth motion. Do not leave the iron sitting in one place too long.
This step can also smooth the hair and add a slight inward or outward curve, depending on the style you want to build next.
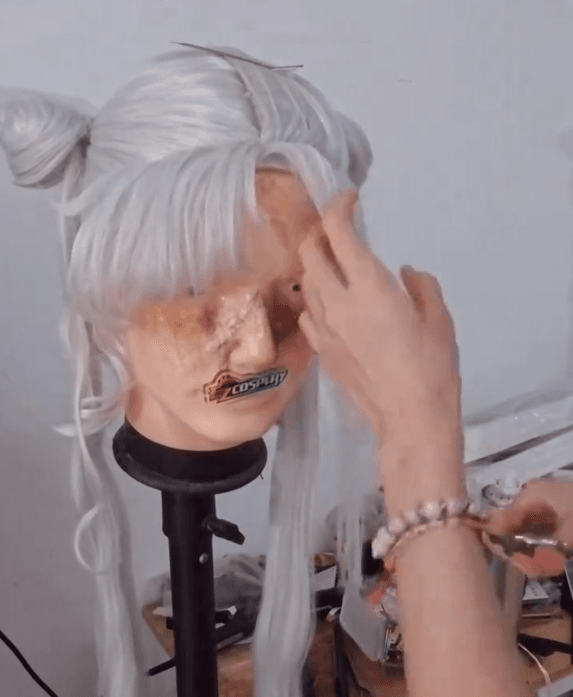
Step 6: Shape the Hair While It Is Still Warm
When the strand is still warm but no longer too hot to touch, it is the perfect time to shape it by hand.
Use your fingers to gently twist, bend, or press the freshly heated section into the curve and direction you want. For example, you can create a slight outward flip at the ends of the ponytail to make the style look more dynamic.
There is no need to use much force. The key is simply to hold the desired shape while the warmth helps the fibers “remember” the new direction.
Step 7: Let It Cool in Place
To make the new shape hold, give the styled strand time to cool down.
Keep the section in the position you want. You can let it hang naturally without touching it, or secure it with a clip in a specific curve if needed. Leave it alone for a few minutes so the fibers can cool and set without disturbance.
Avoid combing, pulling, or handling the strand too much at this stage, or you may ruin the curve you just created.
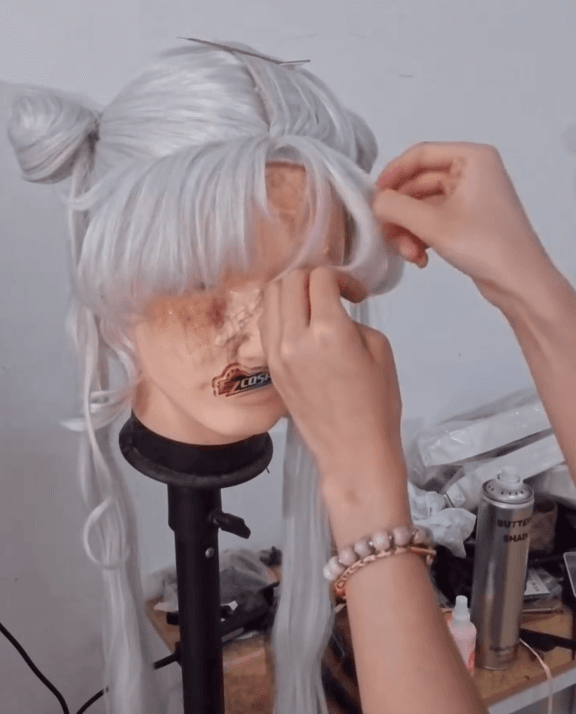
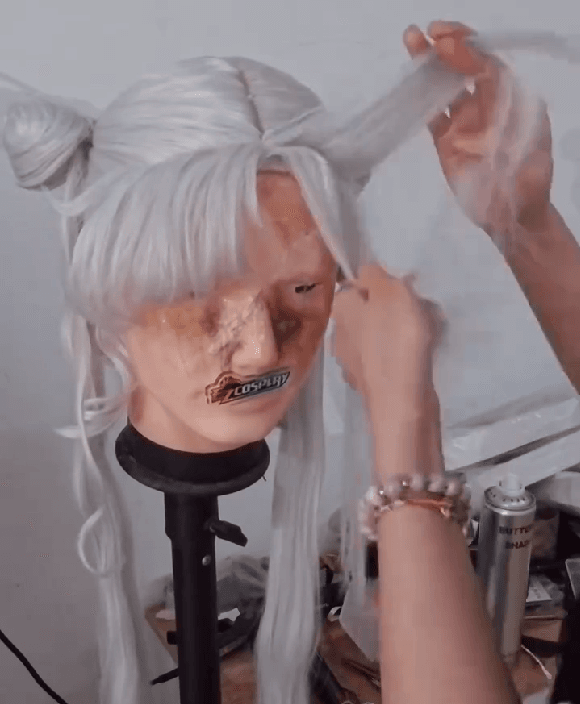
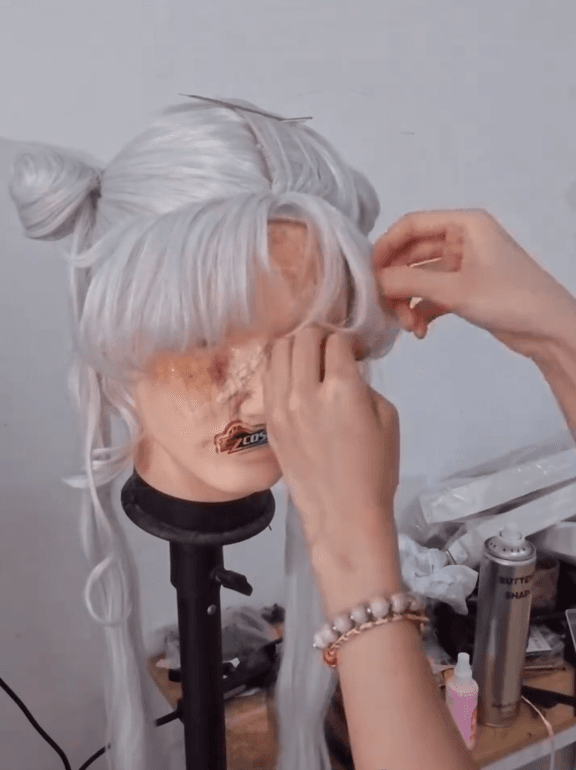
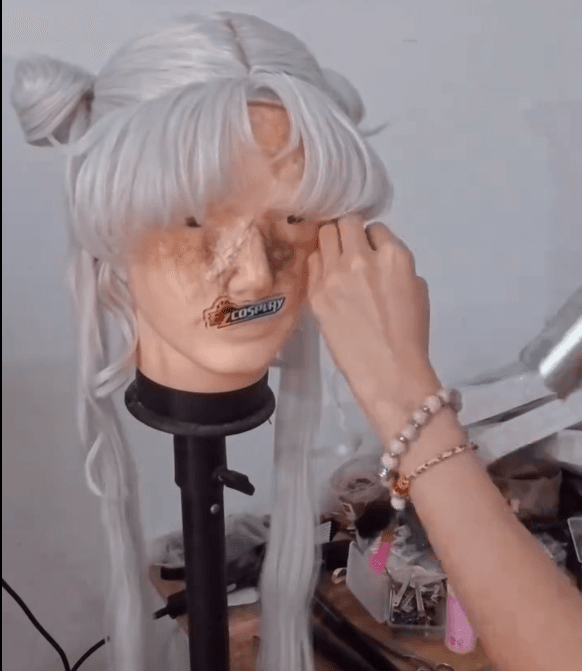
Step 8: Use Your Fingers to Build Texture and Layers
After the hair has completely cooled, use your fingers to refine the overall look.
You can insert your fingers near the roots and gently lift upward to create more volume on top. You can also separate the hair into smaller pieces to make the layered lines more visible and give the wig a more anime-like, dimensional appearance instead of a flat sheet of hair.
If you notice that some areas still feel too heavy, too long, or not defined enough, you can make small additional adjustments with thinning or trimming at this stage.
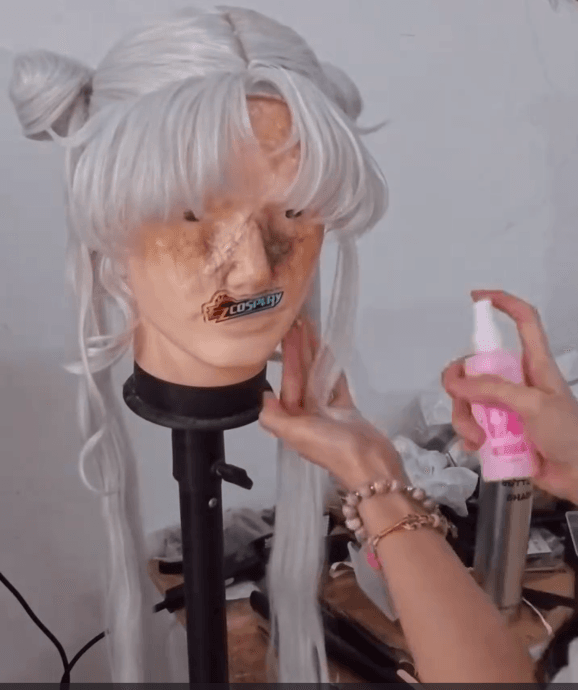
Step 9: Mist with Water to Help Set the Shape
To make the styling more stable, lightly mist the shaped sections with water.
Set the spray bottle to a fine mist and apply a thin layer of water over the styled area. Do not soak the wig. Then allow it to air dry naturally or use a cool-air setting to dry it.
As the fibers cool with a little moisture, the shape can lock in more effectively and last longer.
Step 10: Finish with Hairspray for Hold
The final step is to apply hairspray to help the style stay in place during photos, movement, and long periods of wear.
Hold the spray about 20–30 cm away from the wig and apply it evenly to the key areas, such as the top, the ponytail base, and the ends that need to keep their line. For very small sections that need extra hold, such as ahoge details or specific angled strands, you can spray a little closer for more targeted support.
Try to choose a hairspray that will not leave the wig overly stiff or sticky, so it will still be easier to comb out and restyle later.
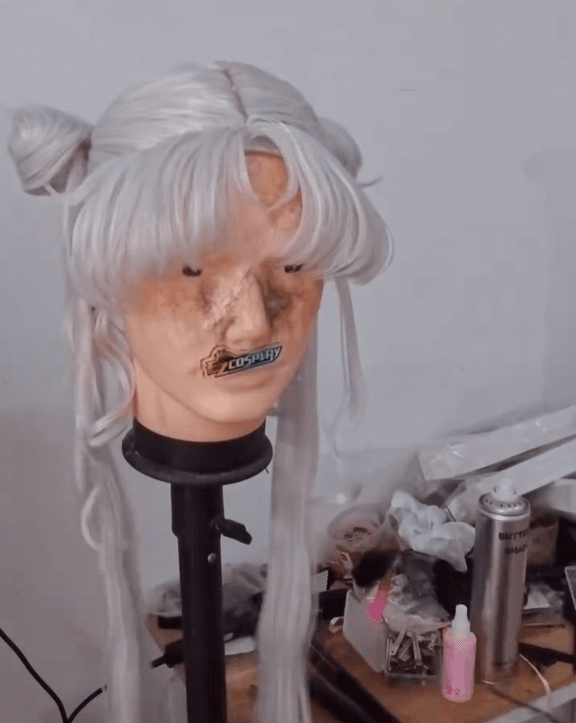
Final Tips
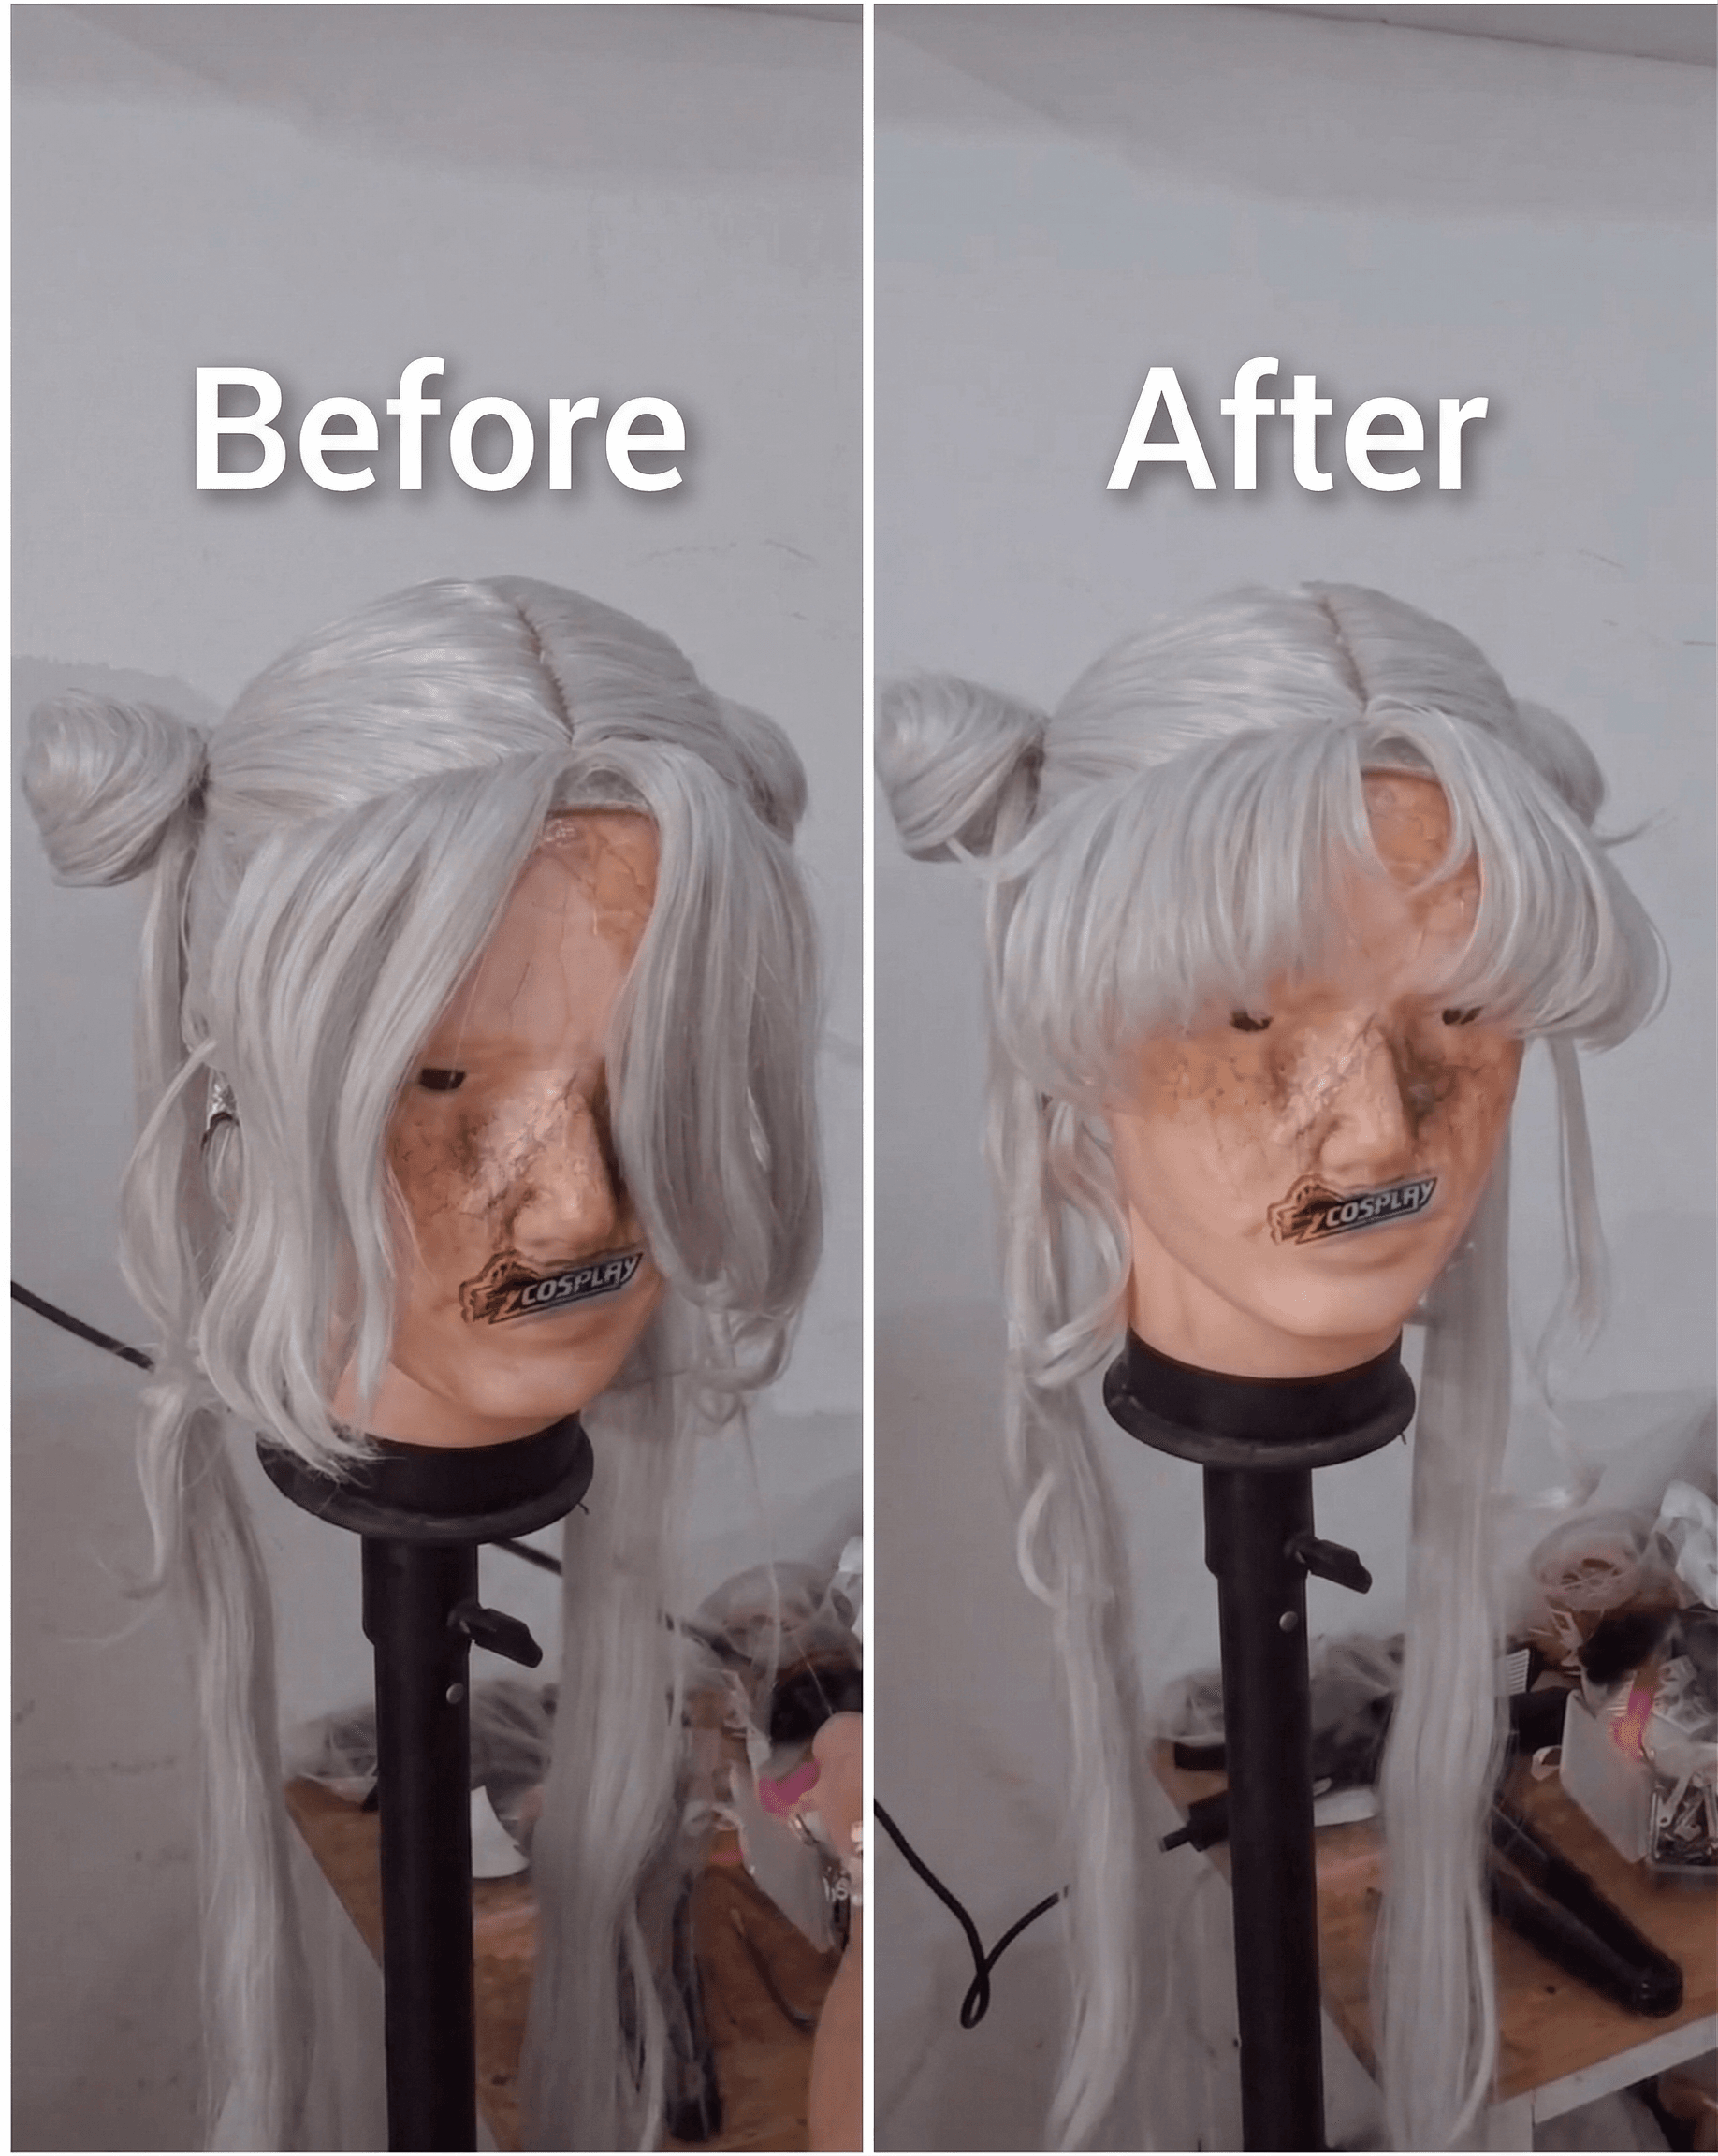
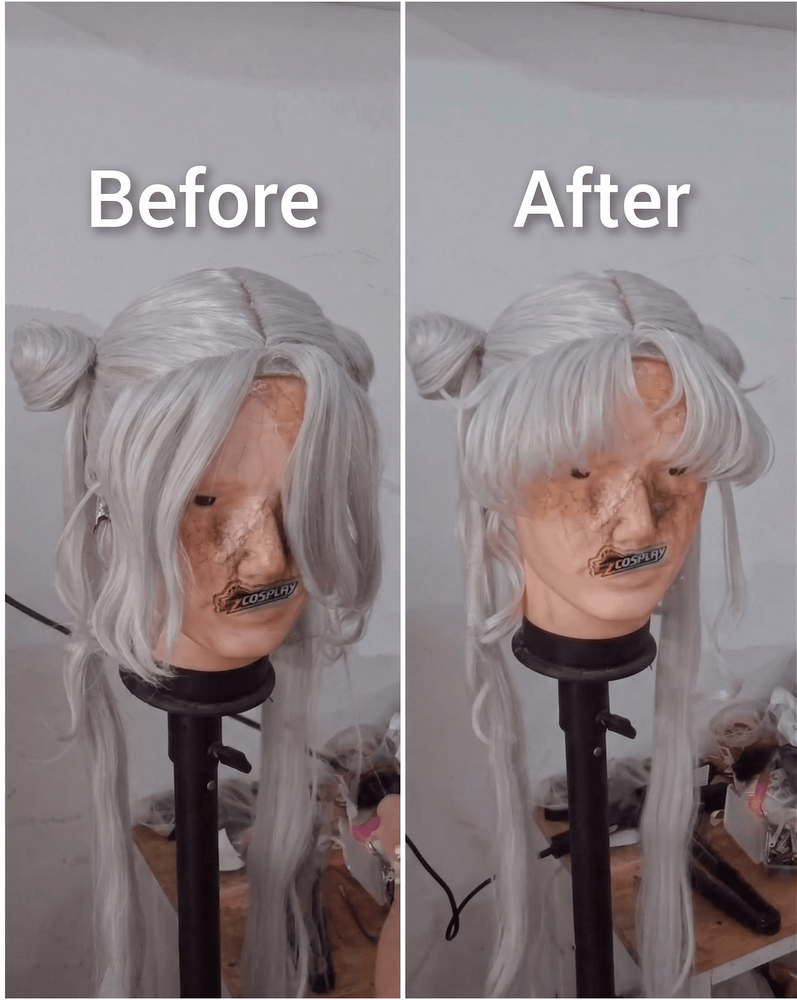
At this point, your full fluffy Usagi Tsukino wig styling process using a TEXTUR iron, thinning scissors, and heat shaping is complete.
Check the before-and-after result to compare the change in volume, texture, and overall shape.
If you are new to advanced wig styling, remember that the best results come from working slowly and making small adjustments step by step. It is always easier to remove a little more bulk or refine a curve later than to undo cutting or heat damage.
With careful sectioning, controlled thinning, and patient heat shaping, you can turn a basic ponytail wig into a fuller and more anime-accurate Usagi Tsukino cosplay look.